Monday, September 9, 2013

Filling in the Gaps

I've taken a lot of pictures here and there of our family over the last few months and I thought I would just post them. Many of these pictures I have posted on Facebook, but others are just life around here. Enjoy.
Watching the crop duster fly by a few times. 

Almost hidden under mom's big baby bump.

Reading with Daddy. Blake loves books with pictures of real animals.

Rebecca's first day of school - first grade at Pella Christian.

Birthday restaurant meal at Jethro's. The cake is almost bigger than the birthday girl!

Yum!! And yes, she did share.

First time at the sprint car races in Knoxville.

Blake loves his "farm show" - Baby Einstein video. Rebecca loved it too when she was his age.

Friday, August 9, 2013

Freezer Meals

Just like so many others who value their time, money, and eating healthy; I have made my fair share of freezer meals. Meal planning has always been a bit of a struggle or avoidance for me. I don't really enjoy cooking or even thinking about cooking. On a typical day, I start thinking about supper between 5-6pm and we usually eat at about 6:30pm. So that means that anything I make needs to be quick and easy. There have been plenty of exceptions to this norm and my family is by no means going hungry, but on the whole we have about 20 different meals that we eat regularly and I can put together quickly. 

With that said, I work full time and finally getting home at 5pm and then having to cook supper is usually the last thing that I want to do. Hence the appeal of freezer meals. There are a few "freezer meal" groups at our church that get together each month and make meals together. I haven't joined one of those groups mostly because I work and because of the distance to drive to church. I find it pretty easy to plan my own meals that my family will like, shop, and put the meals together. With school starting next week, my goal was to get at least 15 meals in the freezer. And I did it!

Here is a list of the meals I have made:
Stuffed Shells - 3 meals
Potato soup - 3 meals
Cheesy Meat and noodles 
Honey Sesame Chicken (crock pot)
Chicken and Dumplings (crock pot)
Meat Loaf - 2 meals
Cheesy hash browns potatoes (side dish)
Chicken and rice with veggies
Pulled pork
Taco meat - 3 meals
Beef and gravy - 3 meals


 I'm most excited about these freezer to crock pot meals. I've never tried this before so I hope they work out and taste good. They were so easy to put together because I didn't have to cook the chicken first.

I'm not going to list all my recipes. I got all of them off my Pinterest page. Reposting these recipes would just be redundant and a lot of work for me. But just so you know my process, I first go online and find all the recipes that I want to make. I go through the ingredients and make a list of everything that I will need to buy. I go shopping. Then make the meals as soon as possible. I put a list of meals on the front of the freezer so I can remember what's in there.

Here is a picture of our freezer currently, most of the meals are on the top shelf and the rest is full of meat. We butcher our own meat at a local meat locker, so getting a half a hog or a 1/4 of beef fills up the freezer pretty fast. So in addition to the ready made meals, I always have pork chops, ground pork or beef, steaks, and other cuts on hand. 
I hope to make a lot of apples sauce this fall so that will have to be canned since there is not room in the freezer :)

Wednesday, July 24, 2013

A little organization goes a long ways...

Sorry for the blog silence lately. It is just another testament to how life is moving a bit too fast lately. You'd think as a teacher and with my summers "off", I'd find more time to reflect on life and share, but not so. We have had a busy summer of playing, working, spending time with family and friends, and just catching up on things.

Speaking of catching up, I wanted to share the latest bit of organization I did in the house. The family room in the basement doesn't actually get that much use at this point in our lives, but I know as the kids grow it will. This is what one side of the room has looked like for the last year.

Not terrible, I know. I'd never make it on one of those TV shows to help me organize my mess, but an eye sore that I have to look at. There used to be a tall shelf here, but I stole it to help organize my sewing things in another room. I looked online several times for inspiration to organize this space and Dan even said he would try and build something. But in the end it just took a trip to Target, ordering online, and assembling a few new pieces of furniture. And now......

Yeah! This small little accomplishment makes me so happy! The adult games and books are on the right with  family pictures of nieces and nephews. The kids games and toys are on the left and the storage bench has more toys in it. (Ironically though, there is a manufacture sticker on the inside of the storage bench that says, "This chest is not intended or suitable for a toy chest." Oh well, I think it's very suitable ;) I also hung up a chalkboard we had laying around and there is a little bucket hanging next to it to hold chalk - that's my favorite. 

Like I said, I ordered these from Target. They are considered hardwood construction with a veneer finish. I love that they all match and that these pieces can grow with the kids - it's not "kid" furniture. Also, if we ever move, these could work in any room. All good decorating blogs give you a price list, so here it is - all items were on clearance and marked down about 25% from the original price, I got free shipping and 5% off with my Target card - so the grand total was right at $250. Worth it to me!

Monday, May 6, 2013

And soon there will be 5!

It's been way too long since I've posted anything! I'm sure the only people who are bothered by this are my parents, but I hope they understand. So what have we been up to?
Yeah! We are expecting #3 at the end of October. The first trimester of pregnancy was pretty rough and every day was just about survival. I'm so thankful to say that I have been feeling better in recent weeks! The clothes are again getting washed and put away, the house isn't too messy, and I cook supper most nights :)
Not sure how faithful I will be at keeping up with the blog, but I'll try my best to hit the high parts of life...stay tuned.


Thursday, February 28, 2013

Niagara Falls Photo Book


You'll love award-winning Shutterfly photo books. Start your own today.

I am sharing our vacation photo book with you so I can get a $10 gift card to Shutterfly. Enjoy!

Wednesday, February 27, 2013

Patching with Style

As part of the Pintrest Challenge over at Young House Love, here's my Pintrest project.


On my last post about Pintrest, I mentioned that one of the ideas I saw and tried was how to patch jeans with some style. I thought I would give a step by step of how I patched a few of Rebecca's jeans. It's been a while since I did a crafty blog and I am excited to share this with you.

First you need some jeans with holes in the knees, which Rebecca has plenty of.
 Find some cute fabrics, which I have plenty of.
 You will also need some embroidery thread in a variety of colors that will coordinate with your fabrics.
 I used Stitch Witchery to fuse the patch to the jeans. So far it has held up very well through several wearings and washings. This pictures shows 1/4 inch, but I actually used 3/4 inch. I just didn't have the packaging for that size.
 Cut the fabric large enough to cover the hole with at least 2 inches around each side. This piece is about 6 inches square. Line the right side of the fabric with the stitch witchery and hover your iron over it to soften the stitch witchery (these are the directions on the package).
 Position the patch upside down on the jeans, the jeans are inside out. Again follow the directions on the stitch witchery package to attach the patch.
 The directions said to place a damp cloth over the patch and press the iron on the cloth for a few seconds, lifting and pressing again.
 Once the patch is in place, choose some matching thread and begin hand stitching stars around the patch in an artistic way. This is the most tedious part and takes a little while. You will have to have one hand inside the jeans and pull the thread through. You can also add different color stars to one pair of jeans. Be creative!


When you are done with the stars, flip the jeans inside out and tie off the thread. The inside won't be pretty, but no one will see that part :)
 Here are 4 different pairs of jeans that I have patched for Rebecca.


Thanks Pintrest for the great idea. Rebecca loves her "new" jeans!

Saturday, February 23, 2013

Pintrest-ing

Printrest  has been around for a while now and everyone is pinning everything - literally. Pintrest has become the new Google search for some. I was hesitant to join at first, but when I fully understood what Pintest was and how it worked, I was hooked.

Back in the day, I actually had a primitive form of Pintrest that I made myself. There were many crafty blogs that I followed and if I saw an idea that I loved I would copy and paste the web link into a Word document (I know, not even a Google doc - primitive) with a little note by it so I could reference it when I had the time. Pintrest has made it so much easier to "pin" all those great ideas that you want to save.

I have the philosophy that I only want to pin things that I actually think I will use someday. I have seen other people with thousands of pins just because they like it, but what is the point of pinning something if you are not actually going to use it? I don't want my Pintrest boards full of fashion I will never own, houses I will never live in, food I will never make, crafts I will never have the time to make, or abs that I will never see in the mirror.

To this day, I have about 250 pins on 11 different boards. I like to keep my boards clean, especially my recipe board. If I try something that I don't like I delete it right away. Keeping things simple and organized, has helped me have quite a few successes.

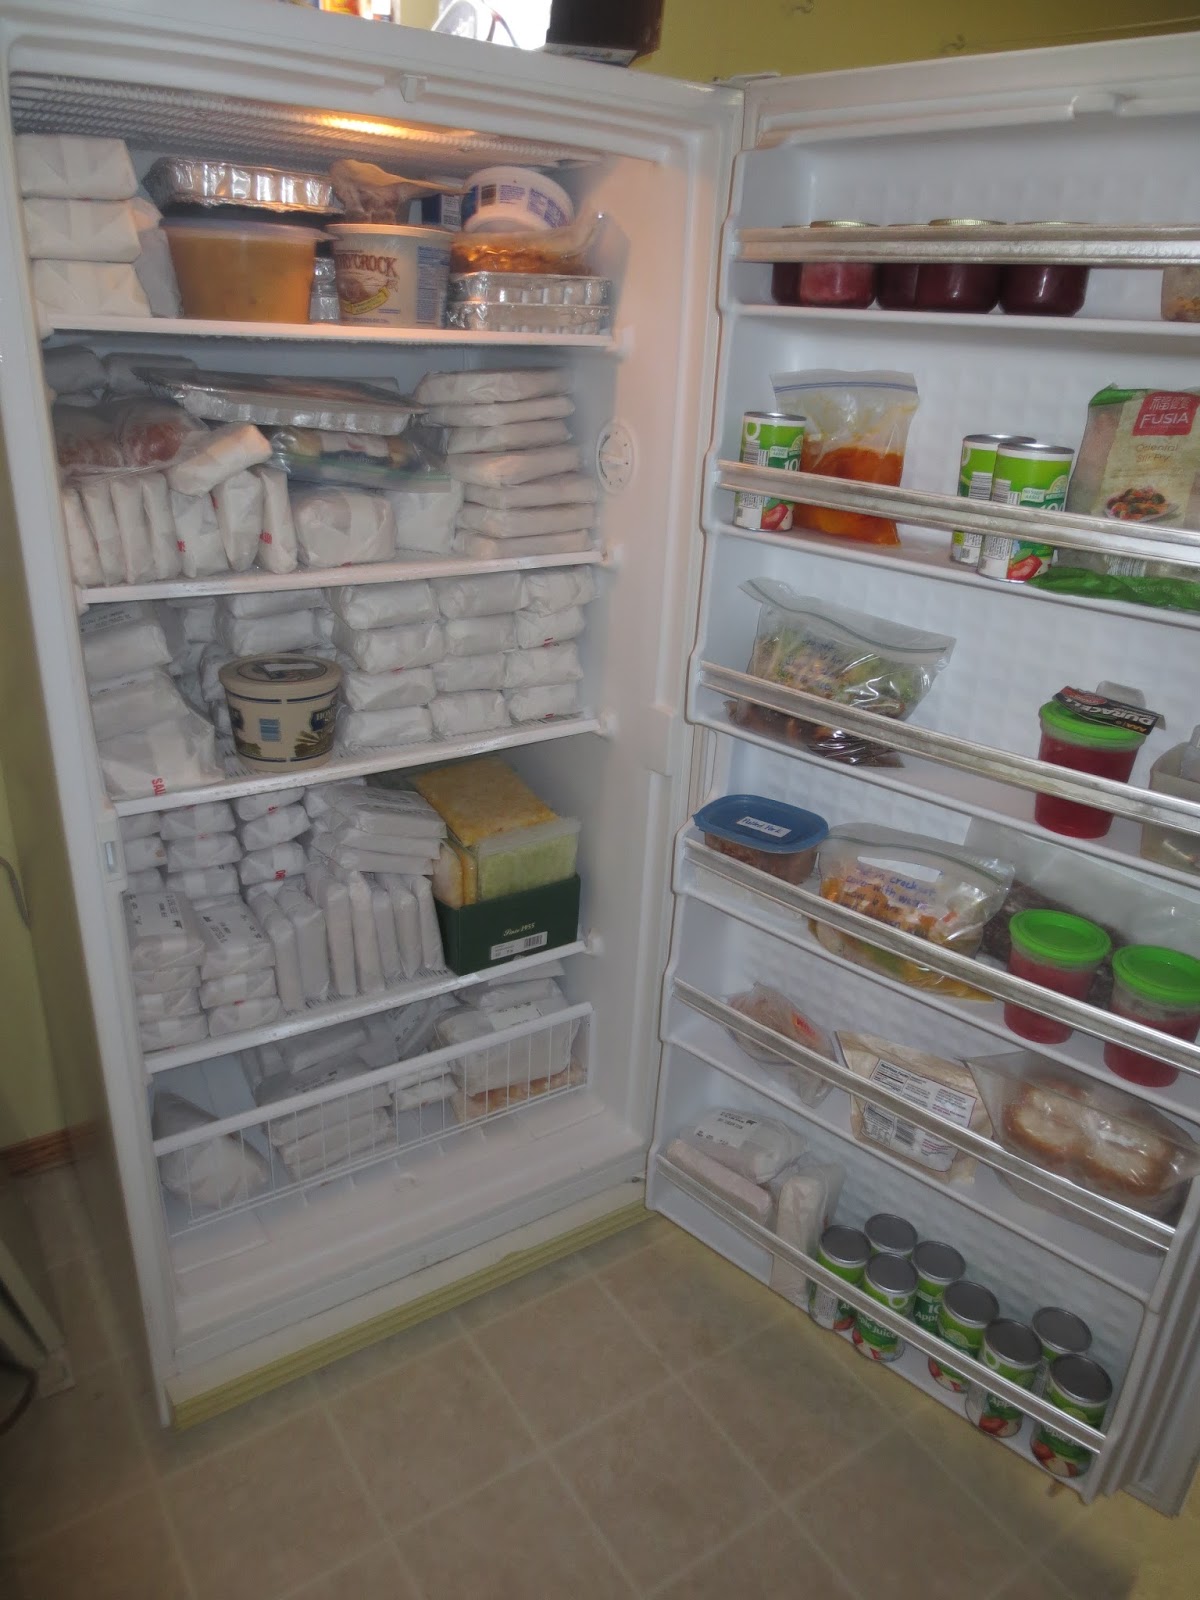
I have tried many recipes - lots of good freezer meals, a few sweet treats, and a great chicken rub that I have used a lot. I have also used some ideas for school - nothing that has drastically improved achievement (unfortunately) but some cute activities the students had fun with. There are a few craft ideas that I really want to try and maybe this summer (when school is out) I will have time - one can always hope. I really wish I had documented some more of these successful ideas from Pintrest, but here are a few.

Add peal and stick tiles to the cabinet under the sink (not sure about yours, but my cabinet was pretty gross). 
I patched Rebecca's jeans with a little but of style. These are now her favorite pair.
Many of these ideas for Blake's first birthday party came from Pintrest.  Actually, I might repin this image back to Pintrest so others can maybe use the ideas.

As much as I love Pintrest, there are few draw backs:
1. If I'm honest, I spend way too much time browsing. Time I should be actually doing something, rather than looking at pictures of things I wish I could do.
2. It's easy to get a little depressed and discontent while looking at all the wonderful things other people are doing - knowing full well that it will never be me.
3. People can say anything and claim anything they want on the internet, so don't believe everything you read or see. (One of the pins that always makes me laugh says something like "Make your own laundry soap and save $200 a year!" I don't know about you, but I figured out that I spend about $80 a year on laundry soap, so I don't think making my own will save me $200).

With all that said, get out there and start pinning (wisely, of course) and have some fun with it!